


Sakai Tutorials
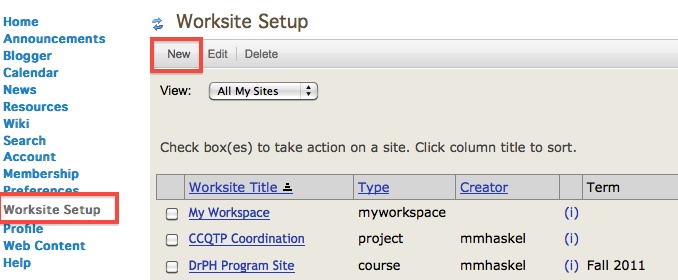
Create a Course SiteYou should create a course site in Sakai@UNC for each of the courses for which you are the official instructor, combining multiple section rosters as needed. During site setup, you will be able to add your official class roster(s) to your site. You can download and print Instructions. In order to create your course site in Sakai, your departmental course scheduling officer must list you as Primary Instructor, Secondary Instructor, Proxy, or Dean's Designate for your course in ConnectCarolina. Instructors with the Teaching Assistant role in ConnectCarolina are unable to create course sites. There are 4 key milestones to creating your course:
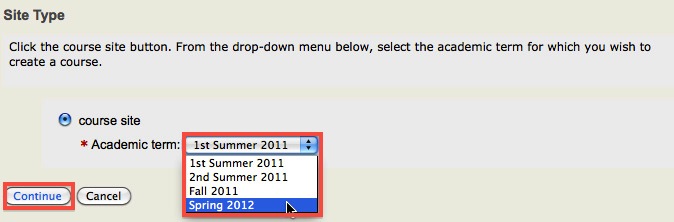
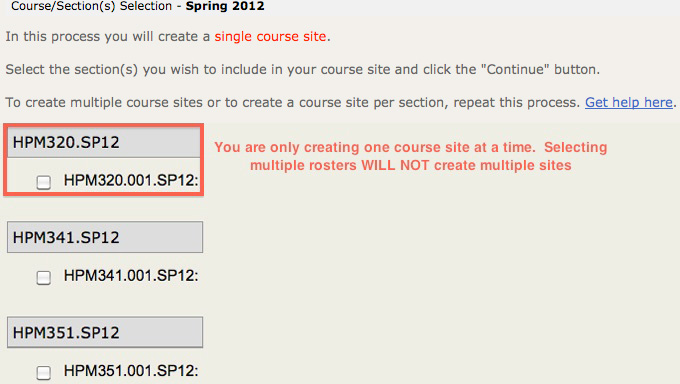
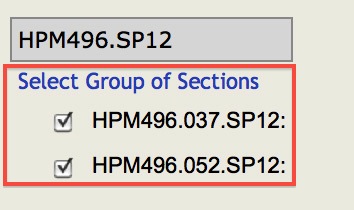
1. Choose the semester and relative roster(s) Please note that the course creation process creates only one course site at a time. Checking multiple course rosters at once will place all checked rosters on the course site you are creating. Each roster can only be attached to one site at a time. See Rosters FAQ.
Site Type
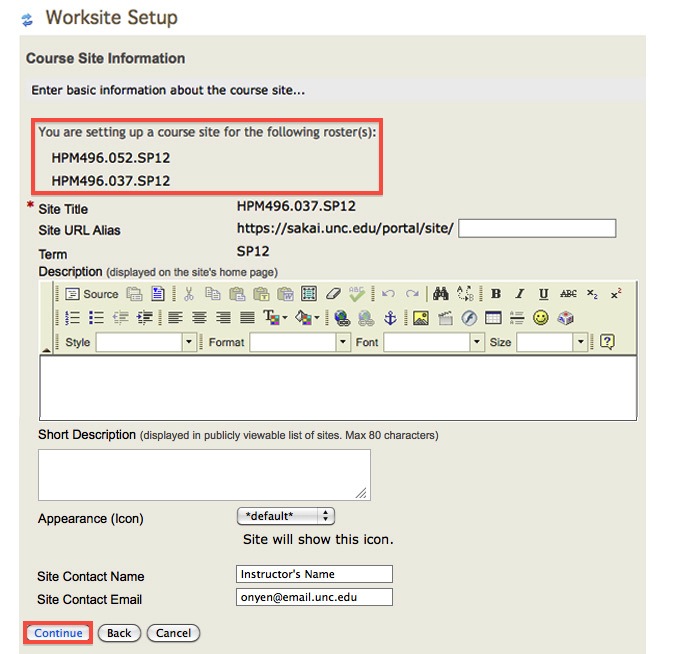
Course/Section Information
On the Course Site Information screen, the roster(s) are listed and the Site Title is pre-filled.
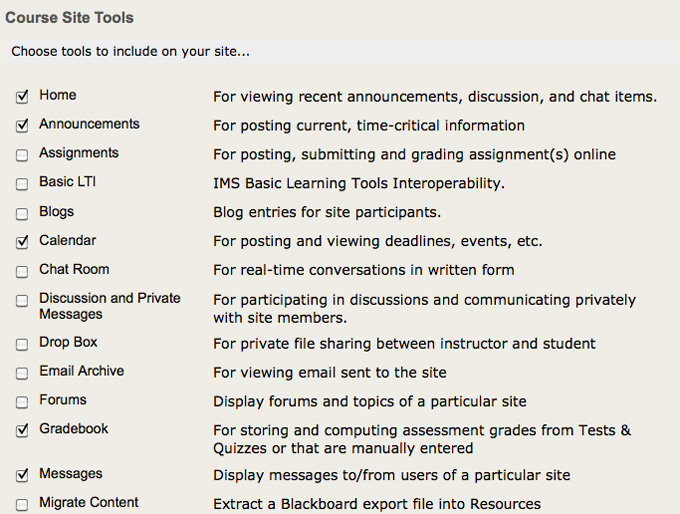
Course Site ToolsOn the Course Site Tools screen, several commonly used tools are pre-selected to add to your site
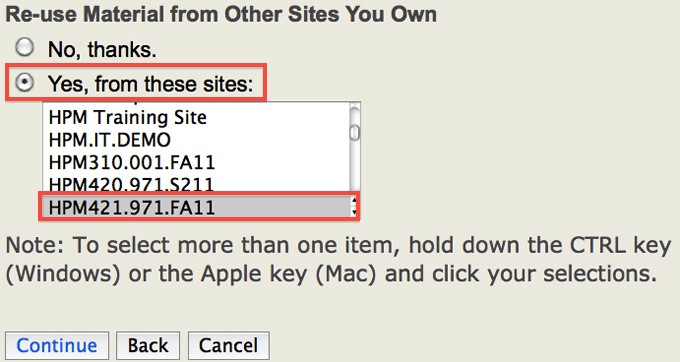
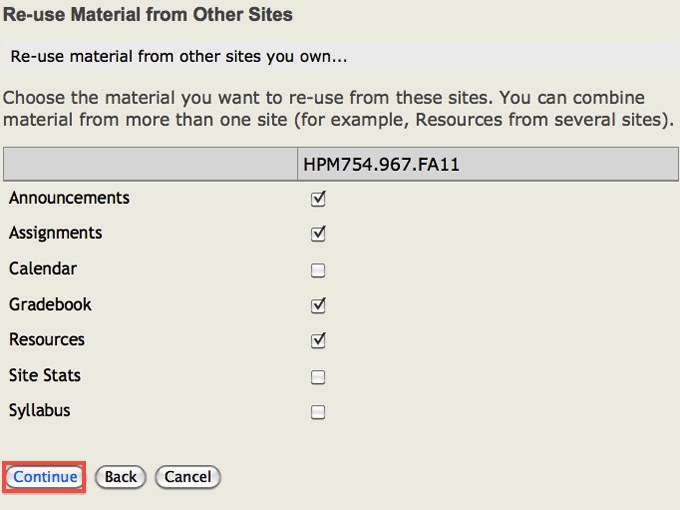
Re-use Material from Other Sites You OwnYou can elect to duplicate course sites from previous semesters.
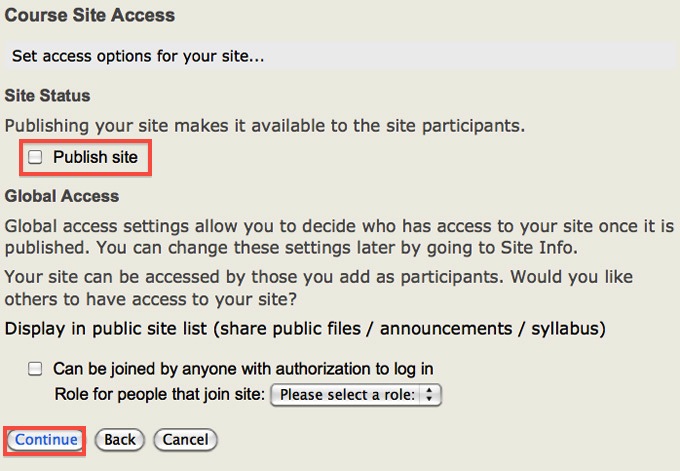
Course Site Access
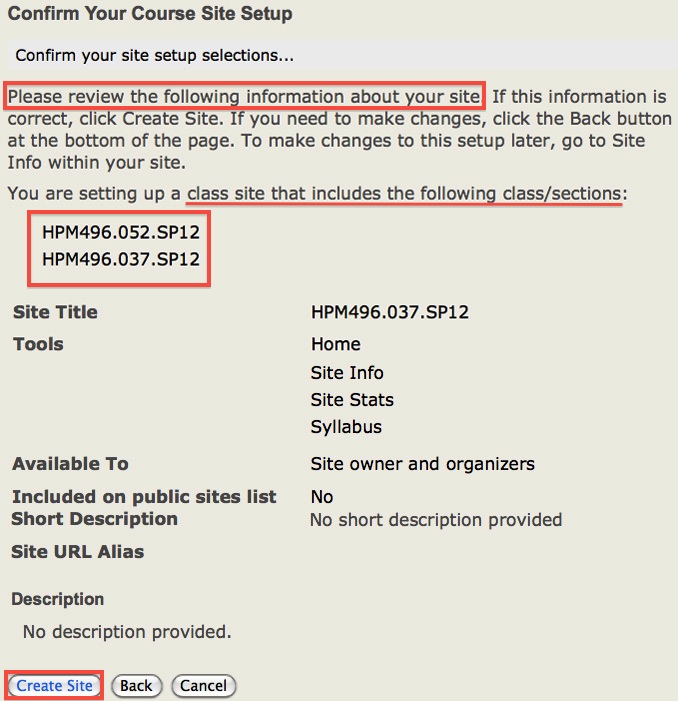
Confirm Your Course Site Setup
Repeat this process for each unique course site you would like to create in Sakai. |
| Sakai home | policies | maintenance | Sakai tools |
© 2015 The University of North Carolina at Chapel Hill Sakai Tutorials by University of North Carolina at Chapel Hill is licensed under a Creative Commons Attribution-Non Commercial-Share Alike 3.0 Unported License. |